Example Usage
This section will explain how to use a prebuilt Ubuntu image as the guest OS. If you want to prepare a kernel and rootfs by yourself, please see Custom Kernel / Rootfs.
The example code for this guide is available in tools/examples
Run a simple Guest OS (using virt-builder)
To run a VM with crosvm, we need two things: A kernel binary and a rootfs. You can build those yourself or use prebuilt cloud/vm images that some linux distributions provide.
Preparing the guest OS image
One of the more convenient ways to customize these VM images is to use virt-builder from the
libguestfs-tools package.
    # Build a simple ubuntu image and create a user with no password.
    virt-builder ubuntu-20.04 \
        --run-command "useradd -m -g sudo -p '' $USER ; chage -d 0 $USER" \
        -o ./rootfs
    # Packages can be pre-installed to the image using
    # --install PACKAGE_NAME
    # Ex: virt-builder ubuntu-20.04 ... --install openssh-server,ncat
    # In this example, the ubuntu image will come pre-installed with OpenSSH-server and with Ncat.
Extract the Kernel (And initrd)
Crosvm directly runs the kernel instead of using the bootloader. So we need to extract the kernel binary from the image. virt-builder has a tool for that:
virt-builder --get-kernel ./rootfs -o .
The kernel binary is going to be saved in the same directory.
Note: Most distributions use an init ramdisk, which is extracted at the same time and needs to be passed to crosvm as well.
Add the user to the kvm group
To run crosvm without sudo, the user should be added to the kvm group in order to obtain the
access to the /dev/kvm file. If the user is already in the kvm group, skip this part. Otherwise,
execute the command below.
sudo adduser "$USER" kvm
You can check if the user is in the kvm group or not with the following command:
groups | grep kvm
After executing the adduser command above, please logout and log back in to reflect the kvm group.
Launch the VM
With all the files in place, crosvm can be run:
# Create `/var/empty` where crosvm can do chroot for jailing each virtio device.
# Devices can't be jailed if /var/empty doesn't exist.
# You can change this directory(/var/empty) by setting the environment variable: DEFAULT_PIVOT_ROOT
sudo mkdir -p /var/empty
# Run crosvm.
# The rootfs is an image of a partitioned hard drive, so we need to tell
# the kernel which partition to use (vda5 in case of ubuntu-20.04).
cargo run --no-default-features -- run \
    --rwdisk ./rootfs \
    --initrd ./initrd.img-* \
    -p "root=/dev/vda5" \
    ./vmlinuz-*
The full source for this example can be executed directly:
./tools/examples/example_simple
The login username will be the username on the host, and it will prompt to decide the password on the first login in the VM.
Add Networking Support
Networking support is easiest set up with a TAP device on the host, which can be done with:
./tools/examples/setup_network
The script will create a TAP device called crosvm_tap and sets up routing. For details, see the
instructions for network devices.
With the crosvm_tap in place we can use it when running crosvm:
# Use the previously configured crosvm_tap device for networking.
cargo run -- run \
    --rwdisk ./rootfs \
    --initrd ./initrd.img-* \
    --net tap-name=crosvm_tap \
    -p "root=/dev/vda5" \
    ./vmlinuz-*
To use the network device in the guest, we need to assign it a static IP address. In our example guest this can be done via a netplan config:
First, create a guest directory and the netplan config:
mkdir guest/
touch guest/01-netcfg.yaml
Then edit guest/01-netcfg.yaml and add the following contents:
# Configure network with static IP 192.168.10.2

network:
    version: 2
    renderer: networkd
    ethernets:
        enp0s4:
            addresses: [192.168.10.2/24]
            nameservers:
                addresses: [8.8.8.8]
            gateway4: 192.168.10.1
The netplan config can be installed when building the VM image:
    builder_args=(
        # Create user with no password.
        --run-command "useradd -m -g sudo -p '' $USER ; chage -d 0 $USER"

        # Configure network via netplan config in 01-netcfg.yaml
        --hostname crosvm-test
        # $SRC=/path/to/crosvm
        --copy-in "$SRC/guest/01-netcfg.yaml:/etc/netplan/"

        # Install sshd.
        --install openssh-server

        -o rootfs
    )

    # Inject authorized key for the user.
    # If the SSH RSA public key file is missing, you will need to login to
    # the VM the first time and change passwords before you can login via SSH.
    ID_RSA_PUB="$HOME/.ssh/id_rsa.pub"
    if [ -r "${ID_RSA_PUB}" ]; then
        builder_args+=("--ssh-inject" "${USER}:file:${ID_RSA_PUB}")
    fi
    virt-builder ubuntu-20.04 "${builder_args[@]}"
This also allows us to use SSH to access the VM. The script above will install your
~/.ssh/id_rsa.pub into the VM, so you'll be able to SSH from the host to the guest with no
password:
ssh 192.168.10.2
WARNING: If you are on a gLinux machine, then you will need to disable Corp SSH Helper:
ssh -oProxyCommand=none 192.168.10.2
The full source for this example can be executed directly:
./tools/examples/example_network
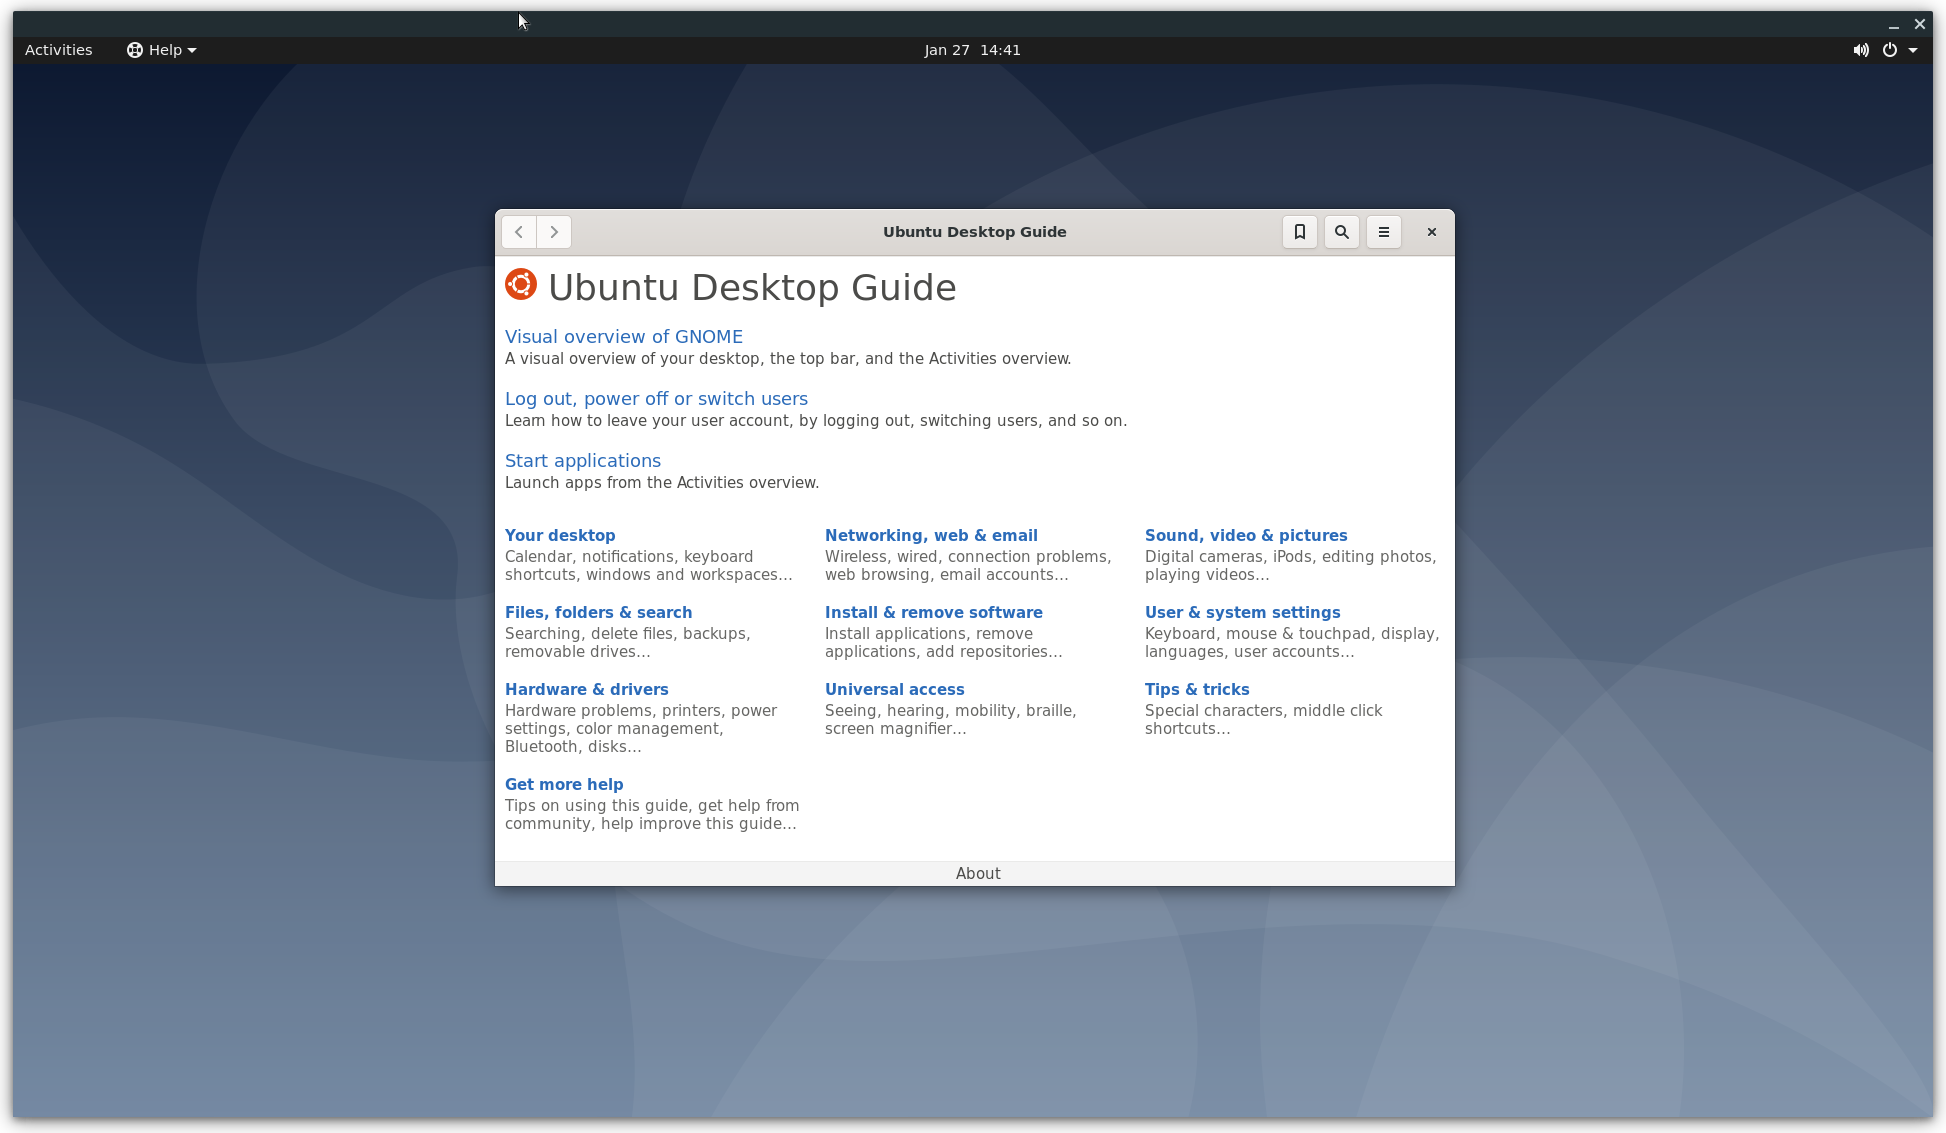
Add GUI support
First you'll want to add some desktop environment to the VM image:
    builder_args=(
        # Create user with no password.
        --run-command "useradd -m -g sudo -p '' $USER ; chage -d 0 $USER"

        # Configure network. See ./example_network
        --hostname crosvm-test
        --copy-in "$SRC/guest/01-netcfg.yaml:/etc/netplan/"

        # Install a desktop environment to launch
        --install xfce4

        -o rootfs
    )
    virt-builder ubuntu-20.04 "${builder_args[@]}"
Then you can use the --gpu argument to specify how gpu output of the VM should be handled. In this
example we are using the virglrenderer backend and output into an X11 window on the host.
# Enable the GPU and keyboard/mouse input. Since this will be a much heavier
# system to run we also need to increase the cpu/memory given to the VM.
# Note: GDM does not allow you to set your password on first login, you have to
#       log in on the command line first to set a password.
cargo run --features=gpu,x,virgl_renderer -- run \
    --cpus 4 \
    --mem 4096 \
    --gpu backend=virglrenderer,width=1920,height=1080 \
    --display-window-keyboard \
    --display-window-mouse \
    --net tap-name=crosvm_tap \
    --rwdisk ./rootfs \
    --initrd ./initrd.img-* \
    -p "root=/dev/vda5" \
    ./vmlinuz-*

The full source for this example can be executed directly (Note, you may want to run setup_networking first):
./tools/examples/example_desktop